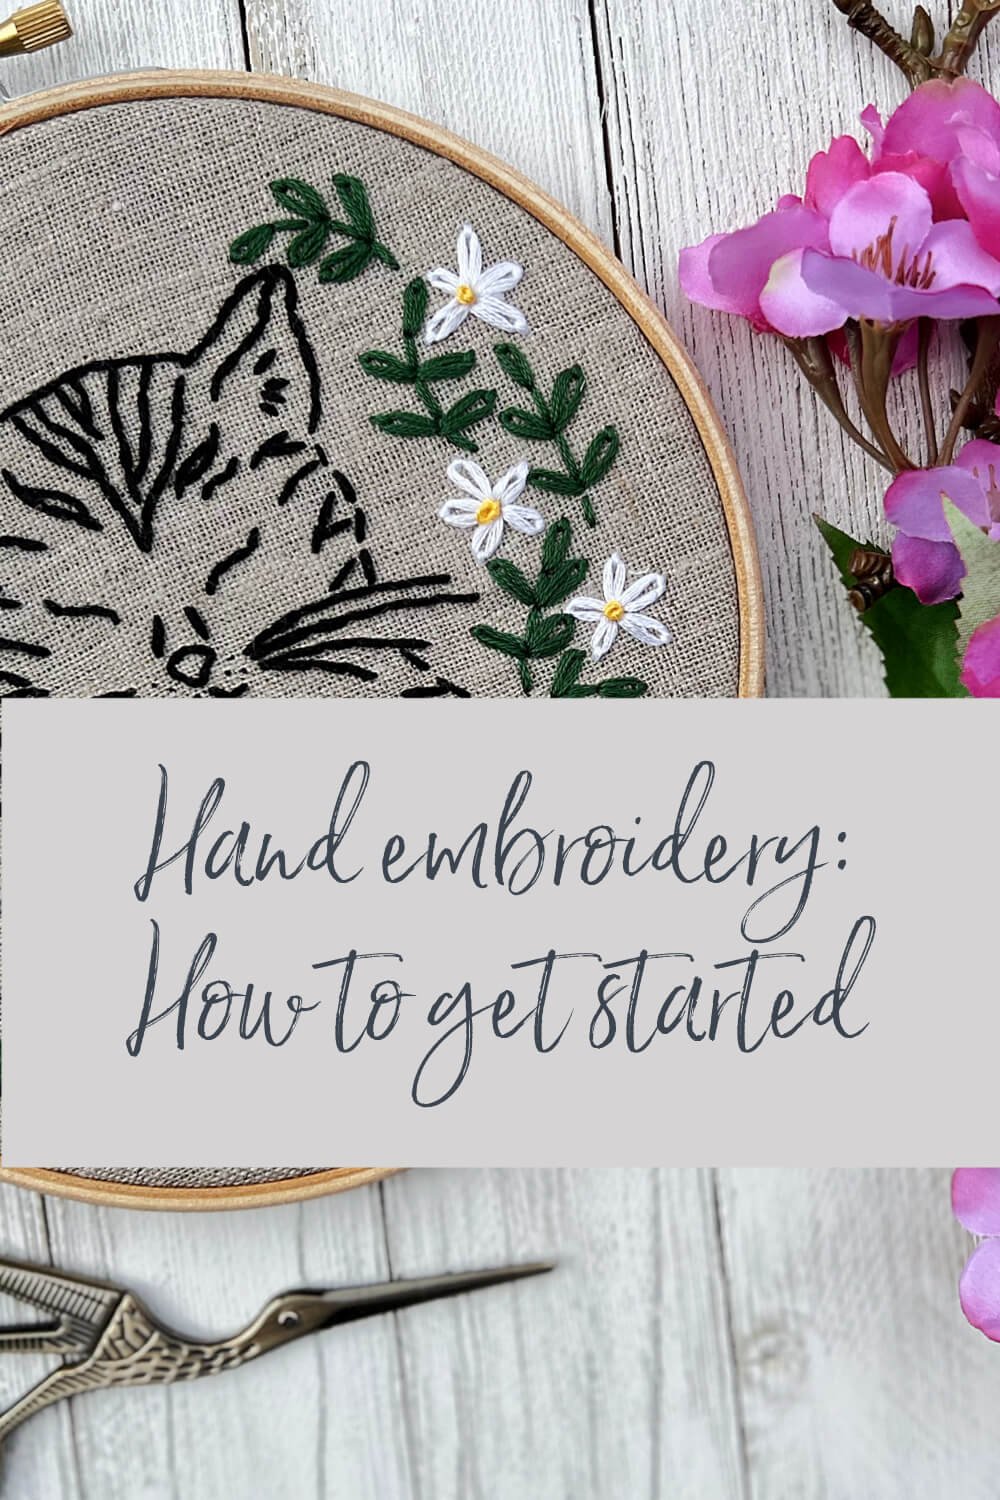
The complete guide to hand embroidery…
So, you’re curious about hand embroidery, but you’re not sure where to start. What supplies do you really need? Is it worth buying a kit or should you just source everything separately? Can you find what you need at your local fabric store or will you need to look online? And what do you actually even do with them?
This article will explain everything! Let’s get started.
What is hand embroidery?
Embroidery is a craft focused on decorating the surface of a fabric with thread. It is often confused with cross stitch and needlepoint, but it is actually quite different from both. Cross stitch and needlepoint are both based on a grid form that is part of the fabric - the patterns are mapped out precisely and you create the design by counting out stitches on the fabric grid and adding them according to the pattern. Embroidery is quite different! With embroidery, we don’t use a grid or count stitches. Instead, it’s more like colouring on the fabric. Embroidery can be done by hand (as a hobby or for fine couture clothing) or by machine (used for industrial purposes such as decorating sports uniforms, baseball hats, and manufactured clothing).
This article will focus on teaching you what you need to get started with hand embroidery.
What supplies do you need for hand embroidery?
To do hand embroidery, the supplies you need are very simple. You'll need:
1. a fabric to stitch on.
2. a hoop to hold the fabric tight while you stitch.
3. a needle and some thread.
4. a pattern to follow (this is optional - you can also stitch without a pattern).
Embroidery fabrics
Embroidery can be done on almost any fabric. The most common fabrics used for hand embroidery are made from natural fibres like linen and cotton. You can also stitch on denim, canvas, felt, anything really - the choice depends on what you are trying to achieve. Im working on a post about choosing the right embroidery fabric and will update this article when that is live!
Embroidery hoops
Embroidery hoops come in many types. The most common type is wood, followed by plastic. Old fashioned ones made of metal can still be found in thrift shops if you search. Embroidery hoops vary wildly in quality. Some are splintery and have weak clasps; others are polished wood with sturdy brass clasps. Plastic ones tend to be sturdy but less pretty for display, and depending on your fabric, they can also be slippery to work with. Personally, my favourites are wood embroidery hoops. Vintage hoops are great because things of the past were generally made with higher quality standards, so you can often find very good hoops at secondhand stores and yard sales. A great embroidery hoop will also have rounded edges so it doesn’t dig into your hands over time.
Embroidery needles
A needle is a simple tool, yet there are dozens of different types! This is something that really overwhelmed me when I was first starting embroidery, and I’m going to try and explain it clearly here. Basically, if you’re new to sewing, you need to know that not just any needle will work for embroidery, so it’s important to make sure you have the right kind. A regular sewing needle isn’t designed to accept the thicker threads we sometimes use with embroidery. There are three types of needles that work well for embroidery; these are called embroidery needles, chenille needles, and tapestry needles. They are very similar but do have some key differences, which I’ll explain. The most common are embroidery needles, and they have an eye that is larger than a regular sewing needle, and a sharp tip. The second type, chenille needles, have a much larger eye and a sharp point; this kind of needle is actually made for projects that are stitched with heavier yarn, so they are very easy to thread. Finally, tapestry needles also have a large eye, like chenille needles, but the tip is rounded as opposed to sharp; these are typically my favourite, but they don’t work with every fabric. You can use any of these needles for most projects, but sometimes your fabric will make one preferable. For example, some heavier fabrics, like denim, require a sharper tip and a heavy needle to get through, so for this, a chenille needle (thick with a sharp point) would be your best bet. But a more delicate fabric would require a finer needle, so you would want to choose a regular embroidery needle. Needles also come in different sizes - the size refers to the thickness of the needle. The smaller the number, the bigger the needle. So, a size 22 needle is narrower than a size 20 needle, and a size 24 needle is even narrower. I typically prefer to work with a size 22 but if you are working on a more delicate piece or with fewer threads, you may prefer a 24. Most craft stores will have at the very least a pack of specific ‘embroidery needles’ that will have different sizes in it. A quality needle will be made of higher quality metal and the machining will be better - this means it will stay sharp longer and have smoother parts, making it easier to thread and nicer to hold. It may seem like a small thing but truly, buying a needle from a reputable brand will make a big difference - quality makes a HUGE difference to your stitching experience! The best way to find out which type of needle you prefer is just to buy one and work with it for awhile; after you get used to stitching, you’ll discover which ones you like to work with. Luckily, even high quality needles are not expensive.
Embroidery thread
Embroidery thread comes in a few different kinds. The most common is embroidery floss, and another type is pearl cotton. Floss is 6 strands of thread all grouped as one; you can stitch with all 6 as one, or separate down to smaller groups. Pearl cotton comes as two strands twisted together and isn't meant to be separated.
There are vast quality differences; if you want to enjoy stitching, buy good quality thread. Good thread, like good needles, makes a big difference because it is smoother and will fray less; the colours are more true, and they will not bleed. Trust me when I say it makes a difference; DMC and Anchor brand are the ones I recommend!
PS - Floss comes in small bunches that are called skeins. Pearl cotton comes in skeins or balls. The skeins will have one end of thread you can pull and theoretically it will continue to unravel nicely, however this is not typically what happens in real life, and can often result in a massive and frustrating tangle… so that is why you will see that most stitchers will undo their skein and wind it onto a thread bobbin, a wooden clothespeg, or even just a bit of cardboard.
Embroidery Patterns
You can buy fabric with the pattern printed on it already, or you can buy a pattern and apply it to your fabric. There are many ways to apply a pattern to fabric, and I am working on a colossal post about that too! I will post a link here when that is ready.
You can also free-form your stitching or design something yourself.
Is it worth buying a kit?
Obviously, I sell embroidery kits, so I’m a bit biased. But to be very transparent, the reason I started making kits in the first place was because I wanted to learn hand embroidery but where I live (a decently large city) it was extremely difficult to find the type of supplies I wanted. I could buy embroidery hoops in my city, yes; but they were cheap and spindly. I could buy needles at the local fabric store, but I was overwhelmed at the variety and didn’t know what to choose. I had to go to three different stores to buy embroidery thread and even then, no one had the quality I was searching for. I wanted to cry and hadn’t even started. For me, in that situation, I desperately wanted to just buy a kit that had everything I needed. From there, I knew I could always explore supplies. But my initial experience showed me how hard it was to gather the supplies I needed, and the type of supplies I wanted, and that is what let me to start designing kits in the first place!
The nice thing about buying a kit is you know you’re going to have everything you need. So if you’re new to any craft, I definitely recommend buying a kit to get started. After you have a bit of experience, you’ll know what you are looking for; from there, you can source the individual supplies and do your own thing. But it’s nice to learn with everything at hand. It’s hard to know what you’ll need when you haven’t done the craft before.
What about embroidery scissors - are those really necessary?
Great question! You see those cute little tiny scissors and you think, do I really need those? Won’t any scissors work to cut thread? And yes, any scissors will technically cut thread. But those tiny embroidery scissors really do come in handy, for more than just snipping the ends of thread. They feature tiny blades, for one thing, that can easily slide under a stitch if you need to snip it out. They are also extremely sharp which makes it easy to snip threads cleanly and accurately. Basically, they are designed for this purpose and they really come in handy. So when you’re first starting out, they’re definitely not a required supply. But if you find yourself doing more stitching, treat yourself to a pair. Once you have used them you will understand! Plus, they are easy to find at most fabric shops and typically quite inexpensive.
OK. But how do you actually do hand embroidery?
Now that we've talked about the supplies you need to do embroidery, we can move on to how to actually DO embroidery!
The process is very simple. Essentially you will put your fabric into your hoop; put your thread into your needle; tie a knot at the end of your thread; and bring the needle up through the fabric, pulling the thread, and back down again to create stitches.
From that point, you can learn a huge variety of different stitches that provide all kinds of different effects; but for myself, I typically stick to 6-8 of the most basic, classic stitches that you can vary to achieve different looks. I recommend learning and mastering these first; they’re the building blocks of embroidery, and from there you can learn the fancy stitches if you want to!
When it comes to stitching, it’s easier to show you than to tell you, so I’ve created a series of videos that show you everything. In this video you’ll learn:
-How to load your fabric into your embroidery hoop
-How to separate your thread (if needed)
-How to thread your needle
-How to tie a knot
-How to start and end your stitching
-How to do all the basic stitches - including back stitch, running stitch, stem stitch, satin stitch, French knot, chain stitch, and lazy daisy.
Phew! It's going to teach you everything you need. Please enjoy!